Step-by-Step Instructions:
- To begin configuring specifications, select “Product Specifications” from your PRODUCTS module.
- Next, select “Add Product Specification” from the toolbox on the right side of your screen to select a product to link to the specification:
- Now, search the product catalog for the product model the specification is being created for.
- Once the product is found, select the model and click the green “Select” button at the bottom of the screen:

- Enter the main title of the specification then a subtitle.
- Use the drop-downs on the right to specify if this is for a customer or a general specification that can be used for all customers (in this case, that means choosing Atommare Calibration). Then specify the group (ie Manufacturer, Customer, Handbook 44 spec).
- If the desired group is not there, click the pencil icon to create a new one. When finished, click Save.

Hint: If you would like to add generic specifications for a product category, choose Add Generic Specification instead and select the category of products the specification should be available for. See https://qualer.freshdesk.com/support/solutions/articles/6000244276-how-to-create-generic-specification )
Now that the spec has been created, points can be added. First, choose if the spec should be "force" and/or "fit":
FORCE: The number of points is driven by the specification. When a specification is selected, Qualer will match Function with the Measurement name (in Service Levels). If it finds a match, Qualer will clear out the measurement lines and create a line for each nominal.
Description: If we have a single measurement parameter for temperature but we don’t know if the measurement is supposed to be in meters or inches, then when the specification is selected, the measurement will pull directly from the specification.
FIT: After a specification has been selected, Qualer will clear everything else from the form.
Description: If I am servicing a Centrifuge and the 3 primary tests are temperature, frequency, and time but when I show up at the job site the centrifuge doesn’t have temperature control. Rather than having to adjust custom fields or SPEC itself. When the order is created it will have all measurements listed but if Qualer can’t locate all matching measurements then the unmatched measurements will be removed.
Then click "Add new record":

Fill in the function name that matches the measurement parameter from the service level corresponding to this instrument type. Then name the specific test point being created by filling out "Specification." Next, choose the desired quantity/parameter and unit of measure:
Note: To verify the existing measurement parameter in the service level, navigate to the associated service level. Users can go to Administration > Service Capabilities > Click ‘# service levels’.

Click on Measurement Forms. Here will display all configured Measurement Forms. The measurement name should match the parameter name in the specification.

You can choose from 6 different specification types: Percentage of Measured Value, Tolerance Range, Offset from Measured Value, Percentage + Count of Resolution, Parts Per Million of Measured Value, and Parts Per Million + Count of Resolution.
- Percentage of Measurement Value: See image above. Here, enter the value being measured (i.e. 100 grams) and then assign an accuracy the measurement will measure against (i.e. +/- 5%). This would mean any value between 95 grams to 105 grams is acceptable.
- Tolerance Range: To set up this type of specification, select a reference value (i.e. 100 grams) and now instead of choosing a percentage, tell the system a specific range that would be acceptable (i.e. 95-105).

- Percentage + Count of Resolution: To set up this type of specification, you would first choose a specification low limit (i.e. 0 grams) and a specification high limit (i.e. 100 grams). Next, enter the resolution of your equipment (i.e. 0.01 grams). Then, assign the acceptable tolerance percentage (i.e. 5%) and the count of resolution in this case, "2 counts" (this would be mean your tolerance would be +/-5% +2 (measurement resolution).

- Parts Per Million of Measured Value: To set up this type of specification, select a reference value (i.e. 100 grams). Next, choose the accuracy in parts per million (i.e. 500) which would calculate to +/- 0.0005 grams.

- Parts Per Million + Count of Resolution: To set up this type of specification, choose a specification low limit (i.e. 0 grams) and a specification high limit (i.e. 100 grams). Next, enter the resolution of the equipment (i.e. 0.01 grams). Then, assign the acceptable tolerance in parts per million (i.e. 500) and the count of resolution in this case 2 (this would mean your tolerance would equal +/-0.0005 +2 (measurement resolution)).

Percent of Full Range Specification
To utilize % of the full range on the specification

To set the full range of the unit under test 2 asset attributes need to be added with the following naming convention:
- ParameterName:Min
- ParameterName:Max
In the above example the following attributes should be added to the unit under test:
- Mass:Min
- Mass:Max

The values for these attributes should be integers or decimals, no letters or special characters will be accepted.
In the work order screen when the specification is applied, the math is calculated.

Lastly, after configuring the specification point, select the green “OK”. Continue to add any additional test points. Finally, click Save.
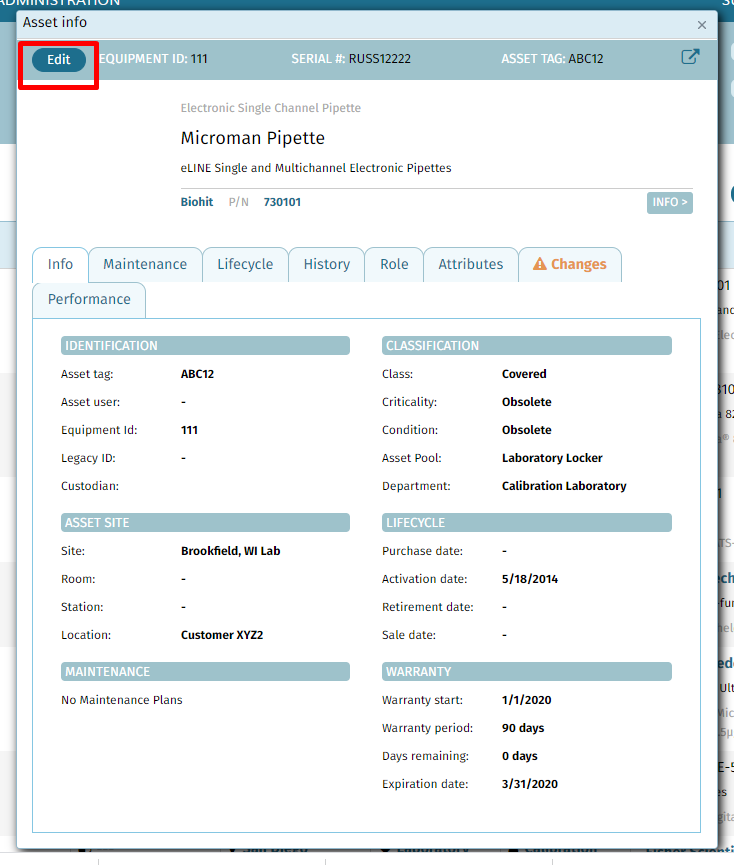
To assign your newly created specification to an asset navigate to the desired asset within the asset manager/client asset manager / managed assets screens. Click on the asset serial number/asset tag/equipment ID to open up the 'Asset Info' screen. Click the blue 'Edit'